

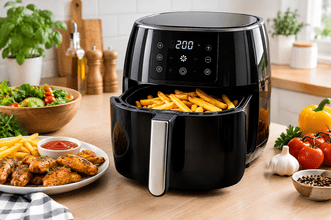
The first time used my air fryer, I made by Frozen Fries and burned half of them. I had no idea you were supposed to shake the basket. I stood there fanning the smoke alarm with a dish towel, wondering why everyone online raved about this gadget.
A week later I tried again, and those fries came out so crispy I ate the whole batch standing at the counter. That’s why the moment I got it.
If you just unboxed one, or you’ve had it sitting on the counter for a month feeling vaguely guilty, this guide is for you. These are 25 simplest recipes I have cooked myself plus the tips and mistakes that took me far too long to figure out.
What is an Air Fryer and Why Beginner Love It
An air fryer is basically a small counter top convection oven. A heat element sit at top and powerful fan blow hot air around the food at high speed. That moving air crisps the outside while the inside cooks through.
It doesn’t actually fryer anything in the deep-fryer sense. But the good result looks and feel surprisingly close with a crunchy surface and far less oil.
Beginners love it for three reasons. It heating up in a couple of minutes, so there’s no waiting for a big oven. Cleanup is usually just one basket. And the learning curve is gentle, because most foods need only oil, salt, and a timer.
In my experience the biggest win is how forgiving it is on busy week night. You can be throw in chicken and vegetables and go deal with the rest of your life for into fifteen minutes.
Before You Starter: Basic Tips That Save You Headache
Every air fryer works a little differently. Wattage, how big the basket. How strong the fan is all affected how quickly food cooks. Think of the times listed here as starting points not rules.
Here’s what I wish someone had share with me on the day:
Preheat for 3 into 5 minutes if your model say to do so. It makes a differences when cooking things, like Fries and wings.
Don’t fill the basket much. Air needs space to move. Cook in two batches of one big pile that gets wet.
Turn the food halfway through. This is the step I used to skip and ended up with burned fries.
Use an oil. A quick spray or a teaspoon mixed in with the food is enough.
Dry your food. Wet surfaces create steam of crispiness so use a paper towel to pat everything dry.
Use a meat thermometer. It is the way to be sure chicken has reached 165°F (74°C) and pork has reached 145°F (63°C).
Easy Snacks and Sides
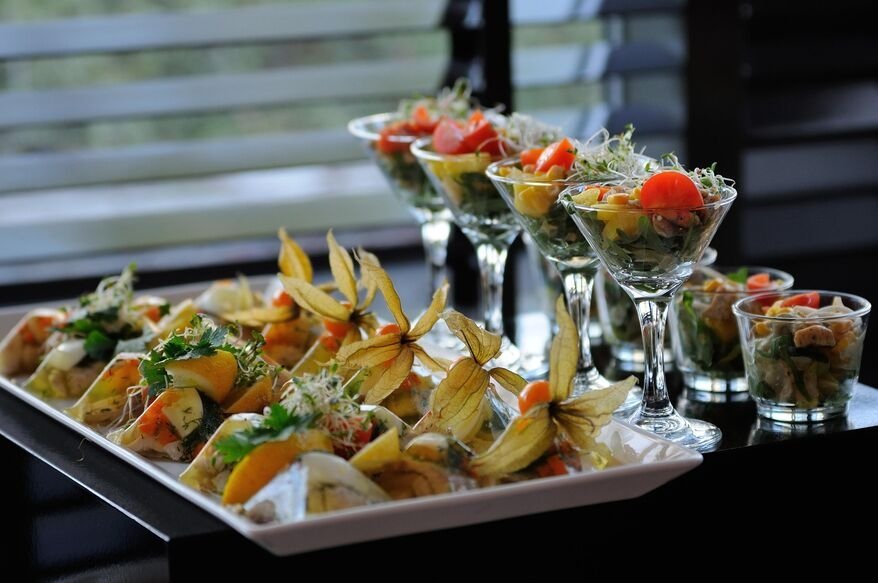
Snacks are the place to start because the stakes are low and the pay off is immediate. I love snacks.
- French fries. Cut russet potatoes into sticks soak fries in water for thirty minutes then dry French fries thoroughly. Toss fries with oil and salt. Cook fries at 400°F (200°C) for fifteen to twenty minutes shaking halfway. The soak removes surface starch, which’s the secret to crunch.
- Sweet potato fries. Sweet potato fries follow the method but cook sweet potato fries at 380°F (190°C) for fifteen to eighteen minutes. Sweet potato fries brown faster because of the sugars so keep an eye on Sweet potato fries near the end.
- Crispy roasted chickpeas. Drain chickpeas, chickpeas well. Toss Crispy roasted chickpeas are oil and your favorite spices. Cook Crispy roasted chickpeas at 390°F (200°C) for twelve into fifteen minutes. Crispy roasted chickpeas are my go‑to when I want something that’s not a chip.
- Frozen mozzarella sticks. No thawing needed. Cook frozen mozzarella stick at 380°F (190°C) for six to eight minutes. Pull Frozen mozzarella stick soon as they are golden or the cheese will escape.
- Homemade tortilla chips. Cut tortilla chips into wedges brush with oil. Add salt. Cook homemade tortilla chips at 350°F for four to six minutes. Lower the heat if your fan run strong because homemade tortilla chips from perfect to burnt fast.
- Roasted garlic. Trim the top off a head of garlic drizzle with oil and wrap garlic in foil. Cook Roasted garlic at 380°F (190°C) for twenty minutes. Spread Roasted garlic, on toast. Thank me later.
Simple Vegetable Recipes
I used to dread cooking vegetable. The air fryer changed that because it gives you crispy edges that steaming never could. I find the air fryer amazing. It has made cooking vegetable a joy.
- Broccoli. Toss broccoli florets are oil, salt and garlic powder. Roast Broccoli at 375°F (190°C) for 8 to 10 minutes. The broccoli tips become crispy and almost nutty. Broccoli tips become crispy and almost nutty.
- Brussels sprouts. Halve Brussels sprouts, add oil and salt. Roast Brussels sprouts at 380°F for 12 to 15 minutes. Even people who say they have hate Brussels sprouts tend to like Brussels sprouts. Brussels sprouts tend to be liked by those Who say they hate them.
- Potatoes. Cut potatoes into one inch cubes. Toss potatoes with oil, paprika and roast potatoes at 400°F (200°C) for 18 to 22 minutes. Shake the basket once or twice. I like to shake the basket twice.
- Zucchini rounds. Slice zucchini into rounds. Toss zucchini with oil, salt and a sprinkle of parmesan and roast zucchini at 375°F for 10 to 12 minute. Blot zucchini slices first because zucchini holds lot of water. Zucchini hold a lot of water so I blot the slices first.
- Corn the cob. Brush corn on the cob with butter and roast corn on the cob at 390°F (200°C) for 10 to 12 minutes. Charred corn kernels beat boiled corn every time. I think charred corn kernels beat boiled corn every time.
- Cauliflower bites. Toss Cauliflower bites with Oil and any spice blend you like roast cauliflower bites at 390°F (200°C), for 12 to 15 minutes. Buffalo. Plain garlic and Paprika both work well. Cauliflower bites taste great are buffalo seasoning. Plain garlic and Paprika both work well.
Beginner Friendly Chicken
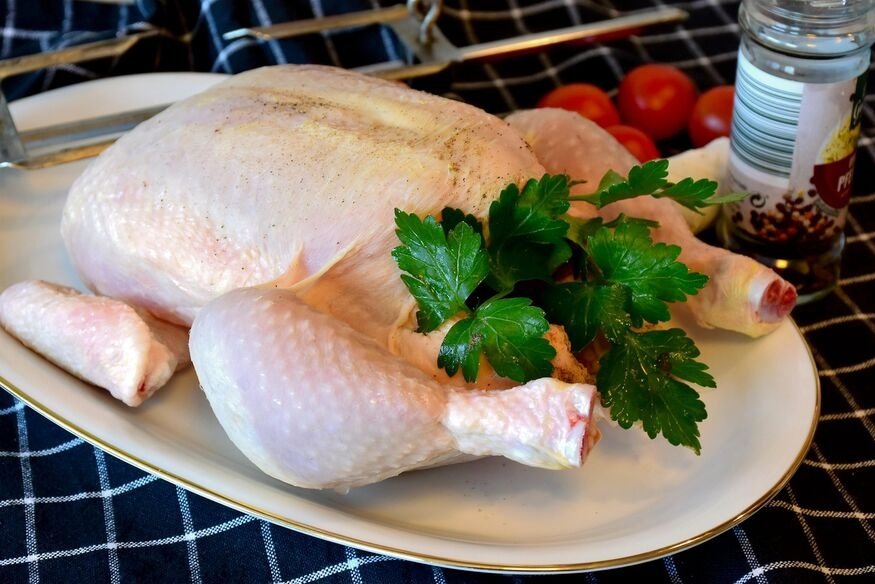
Chicken is where the air fryer really earns its place on the counter. It cook quickly the skin becomes crispy. It hard to overcook if you keep an eye on the time.
- Chicken wings. Dry them off and mix with oil, salt and a little baking powder. Cook at 400°F for 22 to 25 minutes flip once. The baking powder are help the skin puff up and become crisp.
- Chicken breast. Season it. Adding some oil then cooked at 375°F (190°C) for 15 to 18 minutes until the inside reaches 165°F (74°C). The thick ness of the chicken breast matters So check early if the breasts are thin.
- Bone in chicken thighs. Cooks at 380°F (190°C) for 22 into 25 minutes. Thighs are easier to cook than breasts which makes them a great choice to build confidence.
- Chicken tenders. Dip them in egg then cover are breadcrumbs. Cooks at 390°F (200°C) for 10 to 12 minutes. Press the crumbs on firmly. Spray a little so they don’t look pale.
- Frozen chicken nuggets. Cooks at 390°F (200°C) for 8 to 10 minutes. No oil is needed. This one is basically a shortcut for people who don’t like to eat much.
Beef, Pork, and Seafood made simple
I once made chicken breasts for a dinner with friends and relied on the timer instead of a thermometer. Two of them were still pink, in the middle. Now I always check. It takes ten seconds. Removes all the guesswork.
These feel like something an adult would make but they’re just as simple once you get the timing down.
- Hamburgers. Cook at 375°F for 10-12 minutes. Makes a dent in middle of each patty so they don’t puff up. Cook until they reach are least 160°F.
- Steak. Lets it rest at room temperature for 20 minutes and season it well. Cooks at 400°F for 8-12 minutes depending on it’s how done you want it. Let it rest for five minutes before cutting.
- Pork chops. Cook at 400°F (200°C) for 10-12 minutes flipping Once until they reach 145°F (63°C). Take them off right when they are done because pork chops dry out fast.
- Salmon fillets. Rub with oil, salt, Pepper and a little lemon. Cook at 400°F (200°C) for 7-10 minutes. This is one of the dinners I know and the skin becomes nice and crispy.
- Shrimp. Mix with oil, garlic and paprika. Cook at 400°F for 5-6 minutes. Shrimp cook fast so keep a close eyes on them.
Breakfast and Sweets Treat
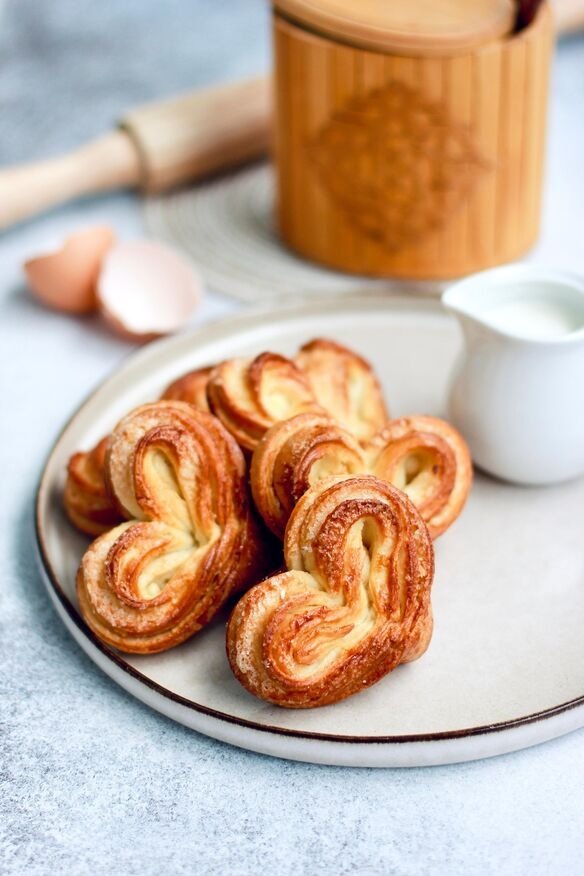
Don’t sleep on the morning and dessert side of things.
- Bacon. 375°F for 8-10 minutes, no oil needed. Less splatter than the stove top and the fat collect below the basket.
- Hard boiled egg. Place whole eggs in the basket and cook at 270°F for about 15 minutes then move them to ice water. It feel strange cook eggs without water but it works.
- Baked apples or apple chips. Core and slice apples then sprinkle with cinnamon. 350°F for 10 to 12 minutes for soft bake slices. It’s a low-effort dessert that makes the whole kitchen smell amazing.
Common Beginner Mistakes to Avoid
I have made these so no judgment.
Overfilling the basket This is the number one reason food comes out soggy. Two smalls batches beat one crowded.
Skipping the oil entirely A tiny bit of oil help browning and keep food from drying out. Use one with a smoke point, like avocado or canola.
Using batter Wet batters drip through the basket. Make a mess. Stick with breading or dry coatings.
Ignoring the manual Your model may have limits, for temperature, capacity or accessories. It’s worth five minutes.
Never cleaning the heating area. Grease buildup can cause smoke. Wipe down the basket and the interior after every uses once it’s cool.
Benefits and Drawbacks, Honestly
After using mine several times a week, here’s my balanced take.
The good: Meals cook faster than in a standard oven, you use much less oil than deep frying and the cleanup is easy. It also doesn’t heat up the whole kitchen, which I appreciate in summer.
The not-so-good: Capacity is limited, so cooking for a big family means batches. Some foods, like wet batters and delicate leafy greens, don’t work well. And it can be noisy.
It’s also not a miracle appliance. It won’t turn unhealthy food healthy. It simply gives you a faster crispier way to cook things you already enjoy.
Looking ahead, air fryers keep getting bigger, smarter, and more flexible. Dual-basket models and combination air fryer-ovens are now common, and that trend looks likely to continue.
conclusion
If you take one thing from this list let it be this start simple. Frozen chicken nuggets regular fries or fresh broccoli will show you how your machine works. Once you understand that everything else becomes easier.
Don’t worry if your first batch is not perfect. Mine was definitely not. Write down what worked, change the time by a minute or two and believe in your taste. Soon you will stop looking at recipes all the time.
I hope this guide helps your air fryer come out of the corner and become part of your routine. Happy cooking. Please shake that basket.
Frequently Asked Questions
1. Do I need to use in oil an air fry?
Oil are not always needed in an air fryer. Frozen food like a nuggets and fries already container oil. Fresh items like vegetables, Chicken and potatoes gain from a dip coating of oil that helping browning and prevents drying. A tea spoon or quick spray is usually enough for an air fryer basket.
2. Do I have to preheating an air fryer?
Preheat depends on the model of an air fryer and the type of food. Preheating for 3 to 5 minutes helps foods such as fries, Wings and steak become crisp from the beginning. For items like vegetables many people skip pre heating without any issue. Check the manual to be sure.
3. Can I use aluminum foil paper or parchment paper inside?
Yes an air fryer can use foil or parchment paper . Use cautions. Perforated parchment paper made for air fryer simplifies cleanup. Foil also works. Never block air flow. Allows foil to touch the heating elements of an air fryer. Always ensure foil paper is weight down by food so it cannot lift.
4. Why is my air fry food not crispy?
Most common reasons, for an air fryer food not being crispy are over crowding the basket failing to dry food or using little oil. Wet surface cause steamer of crisping. Try cooking in batch patting food dry and shaking the basket halfway. Raising the temperature slightly for a minutes can also be helpful.
5. What foods I should avoid cooked in an air fryer?
Wet batters create a mess. Loose cheese or light leaf greens can also blow around. Large roasts may not cook even an air fryer. Stick to breaded, dry‑seasoned food and you will be get better than results from the start.